At this point, your Virtual Camera needs to have its placement determined, and the process for doing so is quite different depending on what type of Experiences the camera was created to capture with:
VR Cameras
VR Cameras combine the virtual scene from SteamVR or Oculus experiences with the physical one and so take on the alignment of the Video Input being mixed in. This means that before we can see fully realized mixed reality video output, we need to determine the location of the Video Input rather than the Virtual Camera. To make this process as straightforward as possible, MixCast provides an easy to follow Controller Calibration process (previously referred to as Quick Align) that can be performed in the headset or while looking at a desktop monitor. This process does require that you have SteamVR installed and have at least 1 Controller connected and tracked.
TRACKED VIDEO INPUTS
After selecting your camera’s Physical Input device, you’ll see the following screen:
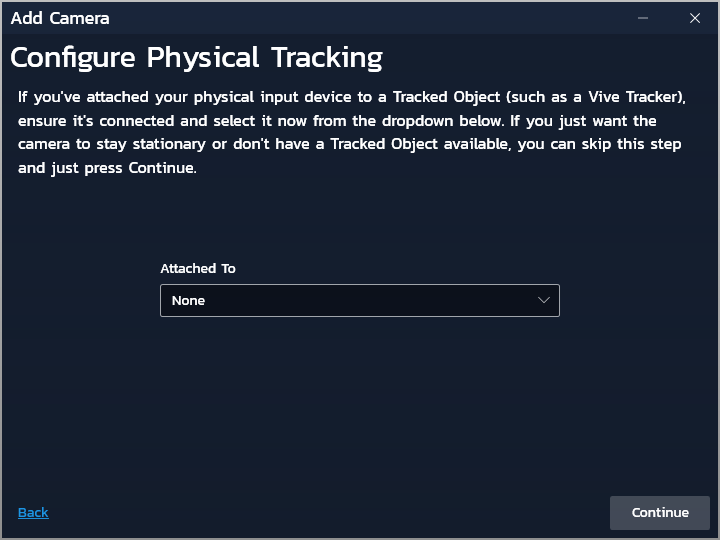
If you intend to be able to move your Physical Input device while active and/or without re-calibrating alignment, you’ll need to affix a Tracked Object to it rigidly so that MixCast can be kept in the loop on its location.
Click Continue once you’ve selected the appropriate device (or left it as None if configuring a non-moving camera).
CONTROLLER CALIBRATION
You’ll now see the following screen:
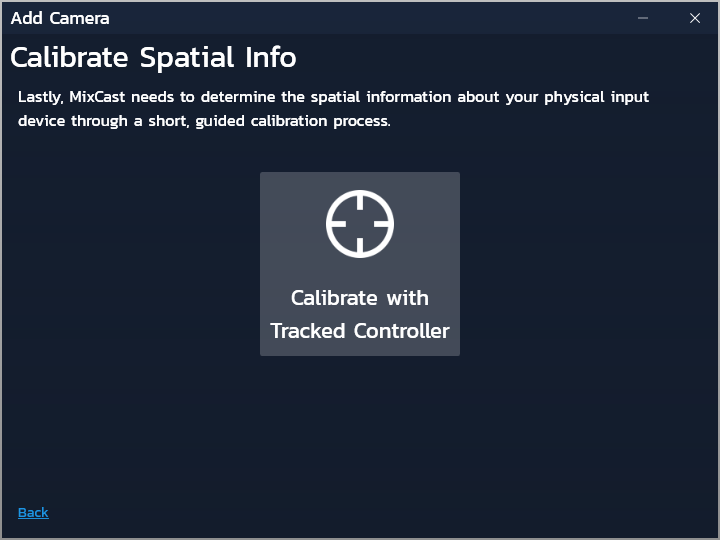
Click the central button to trigger Controller Calibration to determine the location of your Physical Input device.
It’s now recommended that you put on your VR headset and perform the alignment calibration process by following the instructions shown within the experience (you can also perform this process without putting on the headset if you can see the desktop monitor while moving about your tracked space). This process involves holding your VR controller in such a way that it aligns with the visible marker displayed over the Video Input feed. The first instance will be performed right at the position of the lens of the camera, with the following steps requiring the user to step back and hold the controller so it appears closer to one of the corners of the view.
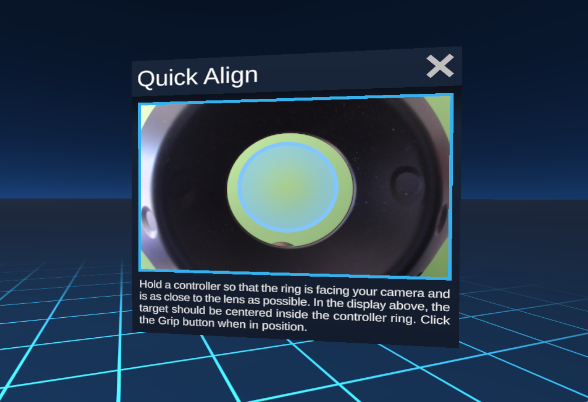
During the confirmation/verification phase of the process, hold up your controllers to compare the virtually rendered geometry with the real controllers. This process can be repeated until the required precision is achieved.
Select Confirm once you’re happy with your results.
INPUT LATENCY
Now that you’ve completed calibration, you may find with all Tracked Objects held still that the physical and virtual layers overlap correctly, but that when in motion the virtual or physical controllers lag behind their counterparts. This is known as ‘latency’ between the camera and the computer. This can be compensated for by adjusting the Delay Compensation parameter of the Physical Device in the Preferences Window.
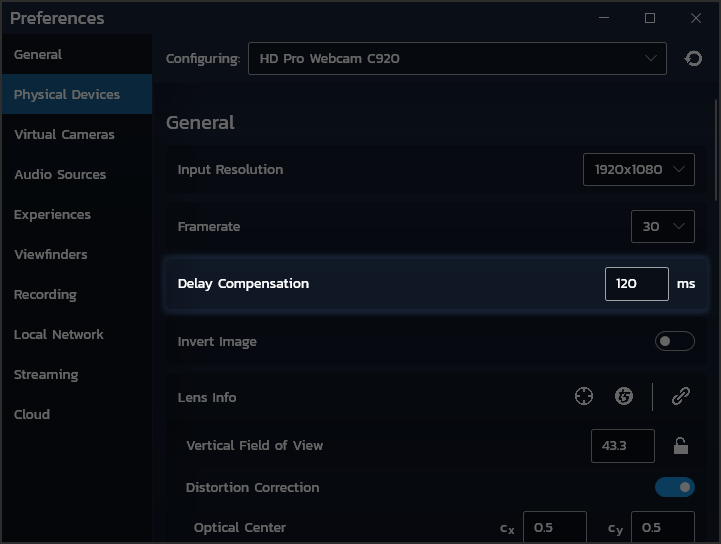
Adjust this value until your virtual and physical controllers move in synchronicity.
Once your Video Input’s alignment and latency have been set, the only remaining task is to configure its background detection so your subject can appear in front of virtual content. Nearly there!
Tilt Five Cameras
Tilt Five Cameras combine the virtual scene from Tilt Five experiences with the physical one and so align take on the alignment of the Video Input being mixed in. This means that before we can see fully realized mixed reality video output, we need to determine the location of the Video Input rather than the Virtual Camera. To make this process as straightforward as possible, MixCast provides an easy to follow Tilt Five Calibration process that automatically determines your Video Input’s alignment (and Field of View if necessary) by detecting the Tilt Five gameboard in the Video Input’s view!
TILT FIVE CALIBRATION
After selecting your camera’s Physical Input device, you’ll now see the following screen:
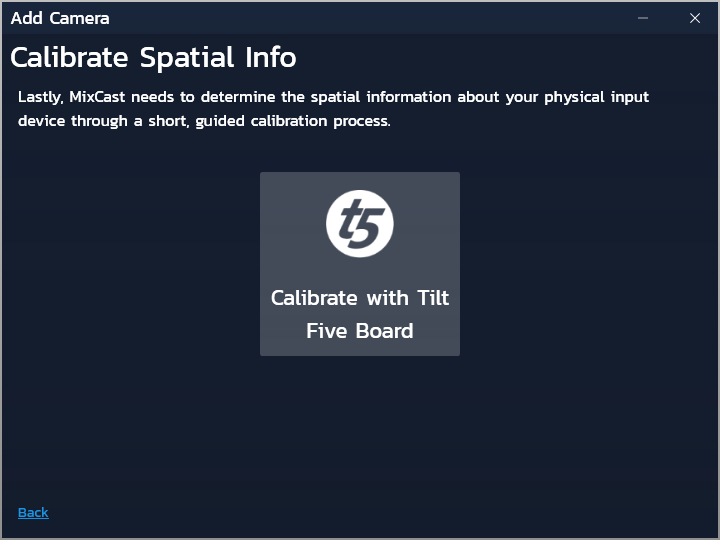
Triggering Tilt Five Calibration will open a new window on the desktop to show the results of the calibration. If the gameboard was detected successfully, MixCast will show you a virtual blue version of the gameboard overlaid on the Video Input feed. Review the results and select the button at the bottom of the window if you’re satisfied. You can retry the calibration from the button in the top left.
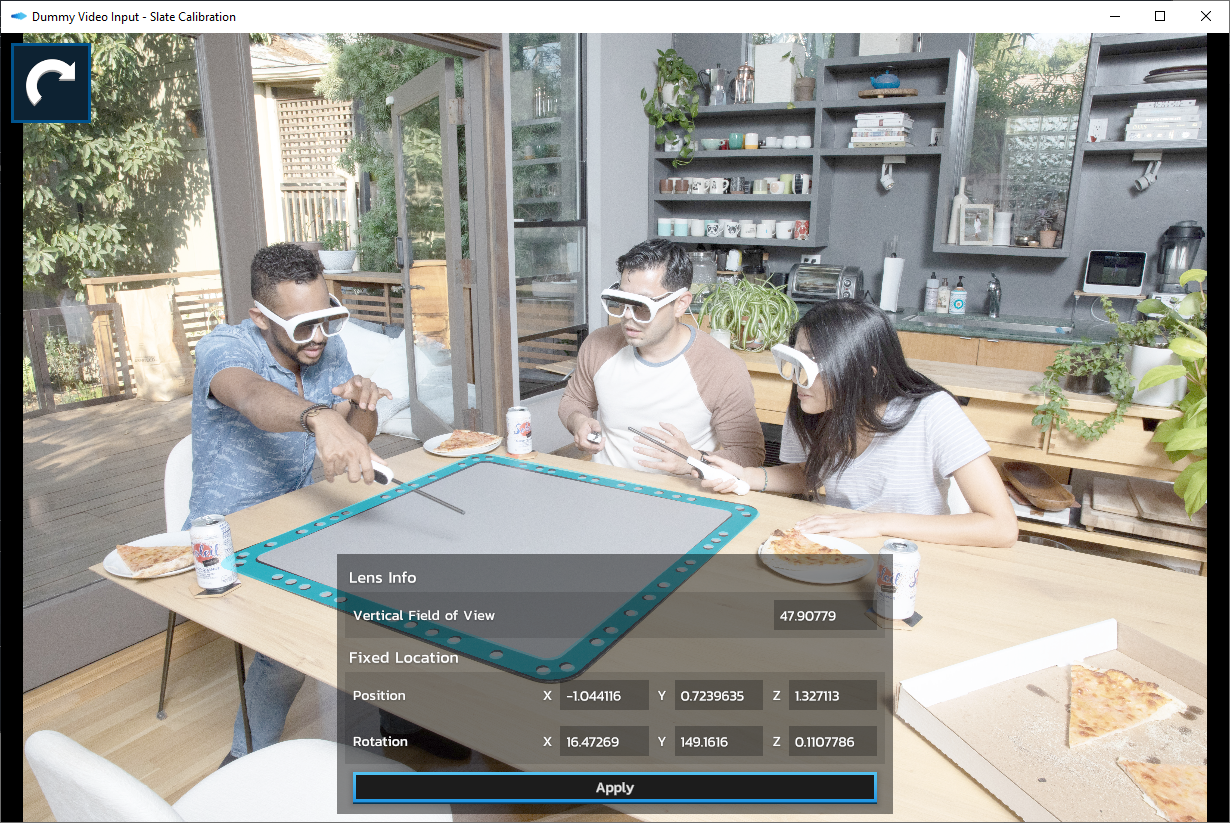
If the gameboard wasn’t successfully detected, MixCast will show you an overlay of the points in view of the Video Input were considered as potentially being the markers around the edge of the gameboard. You may need to adjust the lighting in the room or the camera settings to achieve a successful detection.
Once your Video Input’s alignment has been determined and you’ve hit Apply, your camera is ready to generate content! However, if you want to take your capture even further, you can configure its background detection to have your subject to appear in front of virtual content. Note that this functionality can only work under specific circumstances.
Virtual-Only Cameras
Virtual-Only Cameras aren’t compositing with a physical Video Input feed and are therefore far more ‘free’ when in comes to deciding where the camera is positioned or how it moves.
These cameras can of course be stationary but can also be set to follow the motion of a Tracked Object, and have more controls than with a Tracked Video Input since its motion doesn’t need to match the physical object exactly. For a full breakdown of MixCast’s Virtual-Only Camera placement options, check out this page.
Virtual-Only Cameras don’t have anything to display until you’ve started a compatible experience – If you’re using a VR system with MixCast, the VR Configuration app allows you to review your output as well as the the placement of the cameras within the headset, but if not, or you’d prefer to jump into another compatible experience to experiment further and begin generating content, you can do so now!