
Configuring your Capture PC
Arcade installations with a MixCast Arcade license can utilize the MixCast Cloud to store, view and sell mixed reality media created with MixCast! All you’ll need is to configure your MixCast Client installation with your unique arcade URL so it knows where to send captured media.
First, locate your MixCast arcade information e-mail from Blueprint Reality which includes your arcade’s unique MixCast Cloud URL. This will usually be in the format:
https://your-org.mixcast.cloud/kiosk
Launch the MixCast Client on the PC you want to upload media from to MixCast Cloud for viewing and purchase. Note that you must have activated the Client with a license offering this functionality (Generally an “Arcade” license).
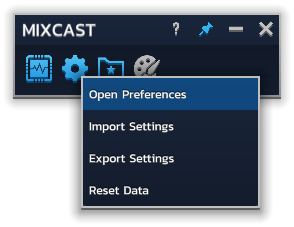
Click the Settings wheel and choose Open Preferences.
In the Cloud section, enter the full URL of your Cloud instance as described in step 1.
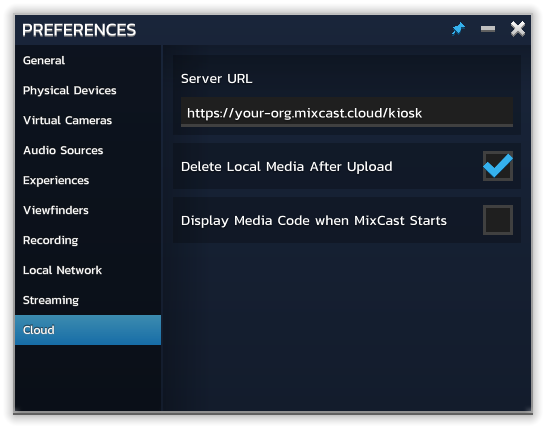
Now you can configure any remaining sections of your MixCast installation and start capturing media! Screenshots and videos will now automatically be uploaded to your MixCast Cloud for purchase and viewing. Here are the additional options provided:
- Choose whether Local Content should be deleted after upload. Leaving this unchecked allows you to keep your media on the PC’s hard drive, but you will need to ensure that the hard drive does not become full over time.
- [Experimental] Enable the display of a Media Code when MixCast starts. Customers can scan the QR code from your PC’s monitor to be presented with the delivery flow for that session’s media.